Motorized shades installation is done in a similar manner to manual shades but with the additional step of setting up the motorization components.
Here’s a general overview of motorized shades installation:
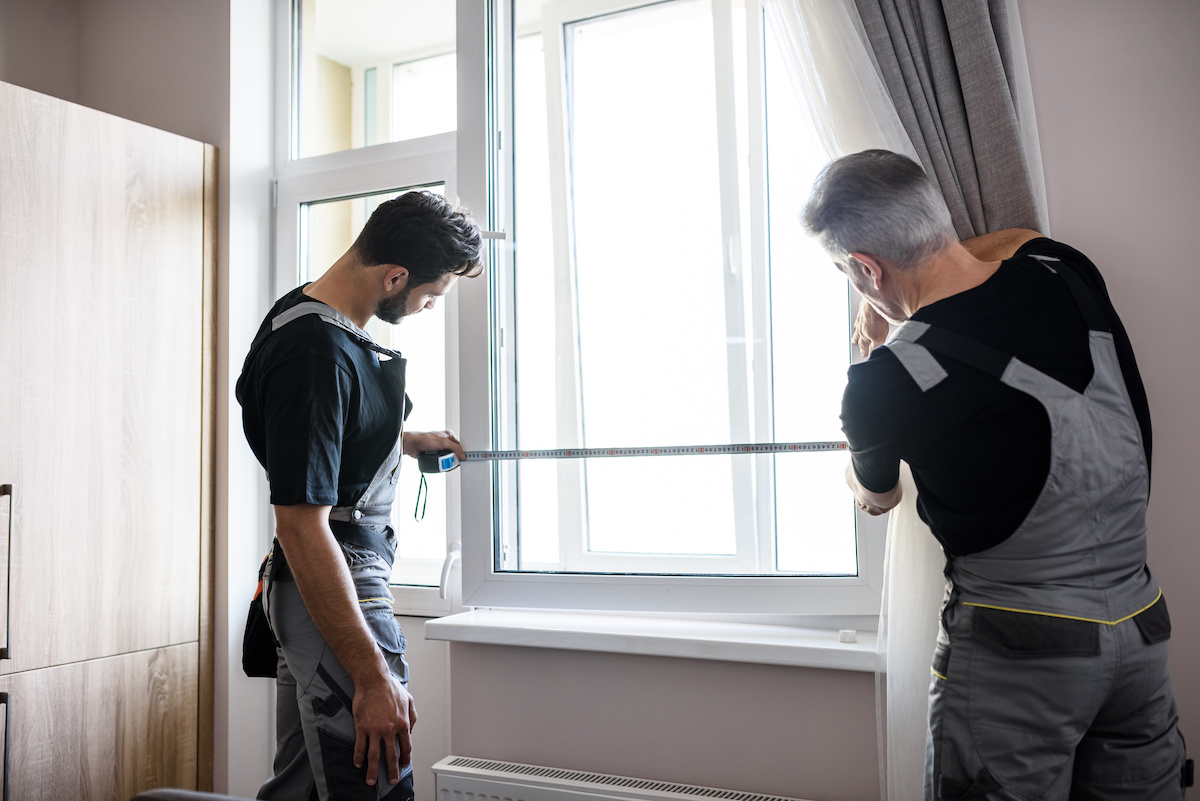
- Measure and prepare: Begin by measuring the window or the area where the shades will be installed. This step is crucial to ensure that you order the correct size of motorized shades. Take precise measurements of the width and height of the window, as well as any additional clearance requirements for the shade mechanism.
- Select the motorization system: Choose a motorization system that suits your needs and preferences. Motorized shades can be controlled through various methods, including remote control, wall switch, smartphone app, or integrated into a home automation system. Select the control option that best fits your requirements.
- Install the brackets: Install the brackets that will hold the motorized shade. Depending on the type of shade and mounting options, brackets may be installed inside the window frame, on the wall above the window, or on the ceiling. Ensure that the brackets are securely attached and level to provide proper support for the shade.
- Mount the shade: Once the brackets are in place, mount the motorized shade onto the brackets. The shade should fit snugly into the brackets and be securely fastened. Follow the manufacturer’s instructions for attaching the shade to the brackets, as the specific method can vary depending on the shade model.
- Connect the motor: If the motorized shade comes with a separate motor unit, connect it to the shade mechanism. This step may involve wiring the motor to a power source or connecting it to a battery pack, depending on the type of motorization system used. Follow the manufacturer’s instructions for the specific motor and control unit you have.
- Program and test the motor: Once the motor is connected, program and test its functionality. This may involve pairing the motor with the control device, setting limits for the shade’s travel range, and adjusting speed and sensitivity settings as needed. Refer to the motor manufacturer’s instructions for programming and testing procedures.
- Power source: Ensure that the motorized shade has a reliable power source. This may involve plugging the motor into an electrical outlet or wiring it to a hardwired power supply, depending on the system. If battery-powered, ensure that the batteries are installed and functioning properly.
- Final adjustments: After the motorized shade is installed and programmed, make any necessary adjustments to ensure that the shade moves smoothly, aligns correctly, and operates as desired. Test the shade’s movement and functionality to ensure it meets your expectations.
It’s important to note that the specific installation process may vary depending on the manufacturer, type of motorized shade, and control system used. It’s recommended to follow the installation instructions provided by the manufacturer of your motorized shade system for detailed guidance.